Home improvement doesn’t have to be complicated or costly. One of the fastest-growing trends in interior design today is Stick on panels for walls — an easy, stylish, and affordable way to give your space a brand-new look. Whether you’re redecorating a single room or transforming your entire home, these panels allow you to achieve professional-quality results with minimal effort. If you’re ready to take your DIY game to the next level, here are the best installation tips for Stick On Panels for Walls that guarantee flawless, long-lasting results.
Why Stick On Panels for Walls Are Perfect for DIY Projects
The appeal of Stick On Panels for Walls lies in their simplicity. There’s no need for heavy tools, messy adhesives, or construction experience. They come with self-adhesive backings — just peel, stick, and press. In a matter of hours, you can completely transform a space that once looked dull into something modern and sophisticated.
At SlatSolution, homeowners can find a wide variety of Stick On Panels for Walls that combine quality, durability, and elegant finishes. From wood-style slats to modern 3D textures, these panels make it easier than ever to create the perfect interior look without the stress of a full renovation.
Step-by-Step Guide to Installing Stick On Panels for Walls
Step 1: Plan Your Design Layout
Before you begin, take time to visualize your layout. Decide which wall or area you want to enhance. Will you be creating an accent wall, a headboard backdrop, or a full-room upgrade? Measuring your wall space accurately helps ensure you order the right number of Stick On Panels for Walls and minimize waste.
Use a pencil or masking tape to outline your desired design on the wall. This will help you maintain straight lines and avoid uneven placement as you begin installation.
Step 2: Prepare the Surface
Preparation is key to a smooth and long-lasting application. For Stick On Panels for Walls to adhere properly, your wall must be clean, dry, and smooth. Wipe away any dust, grease, or residue with a damp cloth, and let the wall dry completely. Avoid textured or uneven surfaces, as these may prevent full adhesion.
If your walls have imperfections, lightly sand rough spots and repair any cracks or holes before starting.
Step 3: Peel and Stick with Precision
Once your wall is ready, begin applying your Stick On Panels for Walls from the bottom corner upward. Carefully peel off a small section of the adhesive backing, align the panel with your guideline, and press it firmly into place. Continue peeling and pressing as you move across the wall.
Use a level to ensure each panel is straight — a small misalignment early on can throw off the entire design. For best results, press firmly with your hands or a rubber roller to remove air bubbles and ensure maximum adhesion.
Step 4: Trim for a Perfect Fit
Walls often have outlets, corners, or windows that require trimming. To get a professional look, use a sharp utility knife or fine-tooth saw to cut the panels as needed. Always measure twice before cutting to avoid mistakes. When trimming around outlets or switches, turn off the power for safety and remove faceplates before applying the panels.
Step 5: Finishing Touches
After all panels are in place, step back and inspect your work. Press any loose edges to reinforce adhesion and wipe the surface with a soft, damp cloth to remove fingerprints or dust. Within hours, your room will look like it’s been professionally renovated — all thanks to Stick On Panels for Walls.
Tips for Long-Lasting Results
1. Choose the Right Panels for the Space
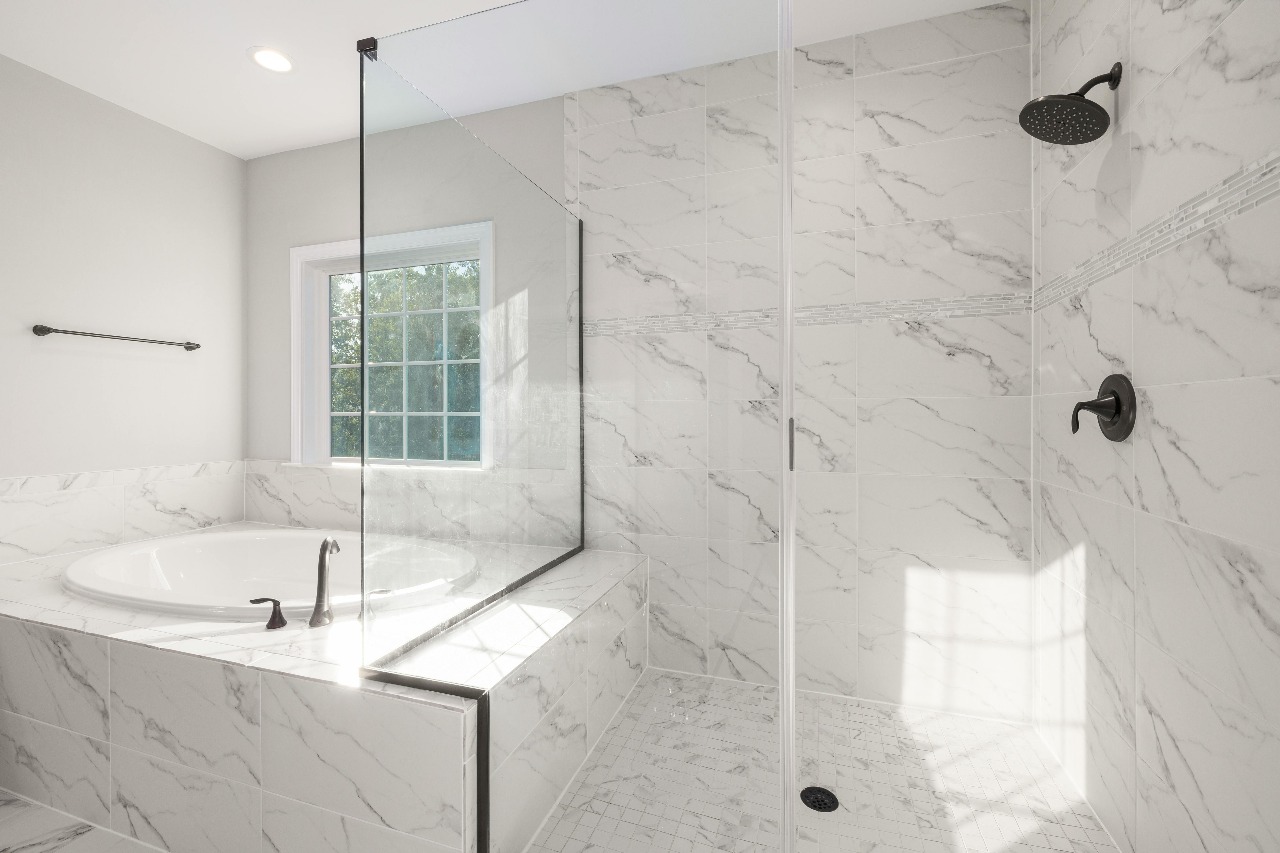
Not all panels are designed for the same environment. For kitchens or bathrooms, select water-resistant Stick On Panels for Walls that can withstand humidity. For bedrooms or offices, opt for textured or acoustic-friendly options from SlatSolution to enhance comfort and style.
2. Maintain Proper Room Temperature
For the adhesive to bond effectively, install Stick On Panels for Walls in moderate temperatures — ideally between 15°C and 30°C. Avoid installing in overly humid or freezing conditions, as this can affect how well they stick.
3. Avoid Applying on Freshly Painted Walls
If you’ve recently painted your walls, wait at least two weeks before applying Stick On Panels for Walls. Fresh paint can trap moisture, which may weaken the adhesive.
4. Clean Regularly for Longevity
Keeping your Stick On Panels for Walls clean helps preserve their look and adhesion. Simply wipe with a damp cloth or gentle cleaner — no harsh chemicals required.
Design Ideas Using Stick On Panels for Walls
Create a Stunning Accent Wall
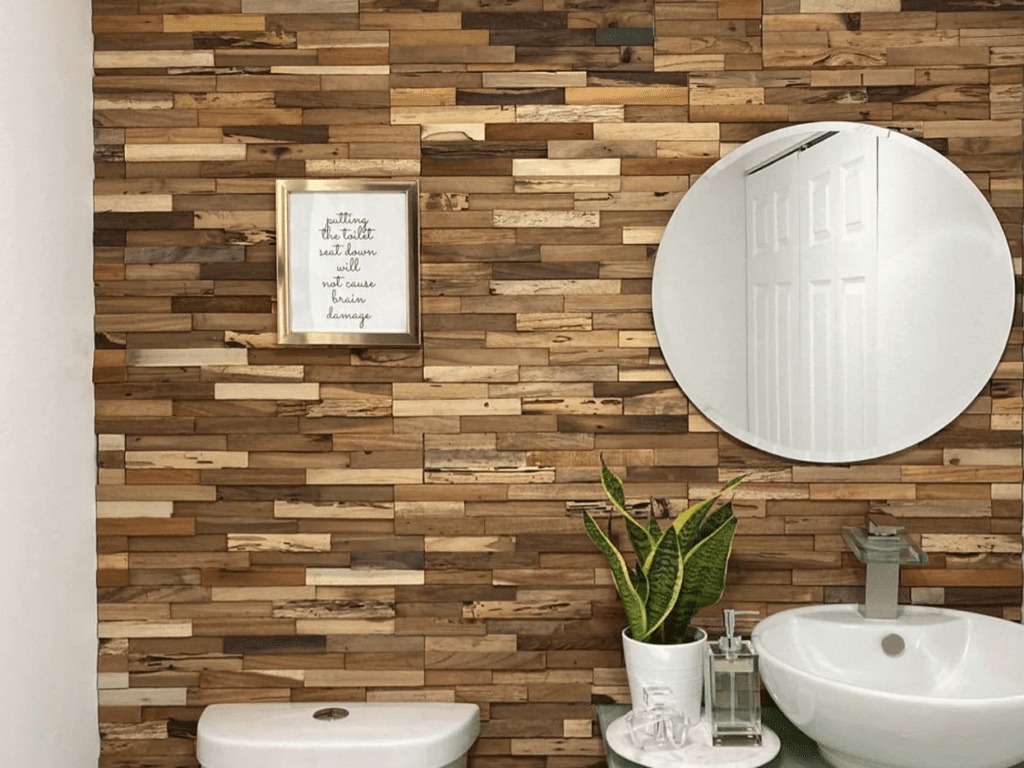
Turn an ordinary wall into a show-stopping focal point. Use Stick On Panels for Walls behind your sofa, bed, or TV to create depth and visual interest. Wood-look panels from SlatSolution add warmth, while sleek modern designs create a minimalist statement.
Upgrade Small Spaces
Even small areas like hallways, laundry rooms, or entryways can look elegant with Stick On Panels for Walls. They bring texture and dimension to spaces that are often overlooked.
Mix and Match Finishes
For a creative touch, combine different styles of Stick On Panels for Walls. Mixing matte, glossy, or slatted finishes can give your interiors a designer-inspired appearance while staying within budget.
Common Mistakes to Avoid
- Skipping wall preparation: Dirt or dust can weaken adhesion.
- Uneven alignment: Always use a level for clean, professional results.
- Overlapping panels incorrectly: Align edges precisely to avoid gaps.
- Applying on uneven walls: Panels adhere best to smooth, flat surfaces.
Avoiding these mistakes ensures that your Stick On Panels for Walls look beautiful and stay secure for years.
The Benefits Beyond Beauty
Aside from their aesthetic appeal, Stick On Panels for Walls offer several practical advantages:
- Time-saving: Complete most projects in under a day.
- Affordable: Cost far less than traditional wall materials.
- Removable: Perfect for renters or those who love to redecorate.
- Durable: Built to resist peeling, fading, and warping.
With these benefits, it’s no wonder why so many homeowners are turning to Stick On Panels for Walls as their go-to décor solution.
Conclusion
Installing Stick On Panels for Walls is one of the easiest, most rewarding home upgrades you can do yourself. With just a little preparation and precision, you can achieve stunning, long-lasting results that look completely professional. Whether you’re adding a rustic accent wall, refreshing your bathroom, or upgrading your office, SlatSolution offers high-quality options for every style and space. Bring your vision to life today — and discover how Stick On Panels for Walls can transform your home effortlessly, beautifully, and affordably.